
This post about “modding” of a Huawei P8 aims to summarize most of the standard procedures you need when you want to modify the device software (also called “firmware”), because you are a developer or want to be more flexible in how you use your device.
Normally, in order to gain this knowledge, you have to read a lot of “geeky” posts on sites like xda developers, which is very time consuming, and sometimes even leads to complete failure (you end up “bricking” your device), because many people there don’t bother to post clear and comprehensive instructions, but simply assume people have some pre-knowledge and know how to do things.
I don’t yet consider this post “finalized” yet (it needs some “polishing”), but I would like to make it available already now to make sure it won’t be forgotten… 😉
Fastboot Mode
“Fastboot” mode is a special mode your device can be put into in order to perform certain maintenance operations, such as (un-) locking your boot loader, flashing partition images, etc. The tool you use on your PC or Mac to communicate with the phone while it is in “fastboot” mode is also called fastboot. It is part of the Android platform tools which you can download here directly from Google.
Here’s how to enter fastboot mode:
- Precondition: phone switched off, connected to PC with USB cable
- press VolDn and keep pressed, press Power
Flash Huawei Firmware Image
Before you can flash a new Huawei firmware build (UPDATE.APP), you need to make sure that a “stock” recovery is installed, so if you have a custom recovery (usually TWRP) installed currently, you need to revert back to the original recovery that came with your specific(!) firmware.
You can extract the recovery.img from your UPDATE.APP with a tool called Huawei Update Extractor. So make sure you remember exactly which firmware you flashed onto your device, or look it up in Settings > About phone > Build number. And keep the original firmware image you use to initially flash your device!
Flash “Stock” Recovery
To flash back your stock recovery, put your phone into “fastboot mode,” and then type the following command:
fastboot flash recovery recovery.img
where recovery.img is the name of your stock recovery you extracted from your specific UPDATE.APP.
Flash UPDATE.APP
To actually flash the Huawei firmware image, extract the UPDATE.APP file from the distribution archive. Then copy this file into a directory named dload in the root of a microSD card. Insert the card into your phone. Unplug your phone from your PC/USB cable.
If you can still boot your currently installed firmware version, do so. Then launch the dialer, and input the following code:
*#*#2846579#*#*
This will launch the ProjectMenu app. Click Software Upgrade > SDCard Upgrade, and confirm by clicking Ok to reboot the device into the stock recovery to install the update package.
If you can’t boot into your currently installed firmware version (because you hosed it), follow the below steps:
TODO
Unlock the Boot Loader
Before you can modify your “stock” firmware, you need to unlock your phone’s boot loader. The boot loader is one of the first pieces of software that runs in the boot-strap process and loads the boot image. The stock “locked” boot loader makes sure that only signed, unmodified copies of the firmware will be run to protect the integrity of your phone. Only when you have unlocked your boot loader you can e. g. install a custom recovery.
To unlock the boot loader, you need the boot loader unlock password, which could be retrieved from Huawei until very recently. If you missed your chance to get it directly from Huawei, you can still get it from DC Unlocker, but it will cost your 4 EUR.
If you have an unlock password for your device (it’s only valid for your specific device, so you can’t use someone else’s password!), boot your device into fastboot mode, and enter the following command:
fastboot oem unlock XXXXXXXXXXXXXXXXXXX
If you ever want to re-lock your boot loader, enter the below command in fastboot mode:
fastboot oem relock XXXXXXXXXXXXXXXXXX
Flash “Custom” Recovery
TWRP is the custom recovery in Android nowadays. You can download it from TWRP’s official site. At the time of writing, the latest TWRP build for the P8 is 3.1.1-0.
Flashing a custom recovery works the same way as flashing a stock recovery. After you flashed the image, pull off the USB cable, and boot directly into TWRP from the fastboot screen by following the below procedure:
- Press and keep depressed both the
Volume UpandVolume Downkeys - Additionally press and keep depressed the
Powerbutton, until the screen goes black. - Quickly let go the
Powerbutton, but still keep bothVolumekeys depressed, until you see the TWRP splash screen (or Huawei logo, in case you want to boot into your custom recovery on a device that was switched off.) - Let go all buttons.
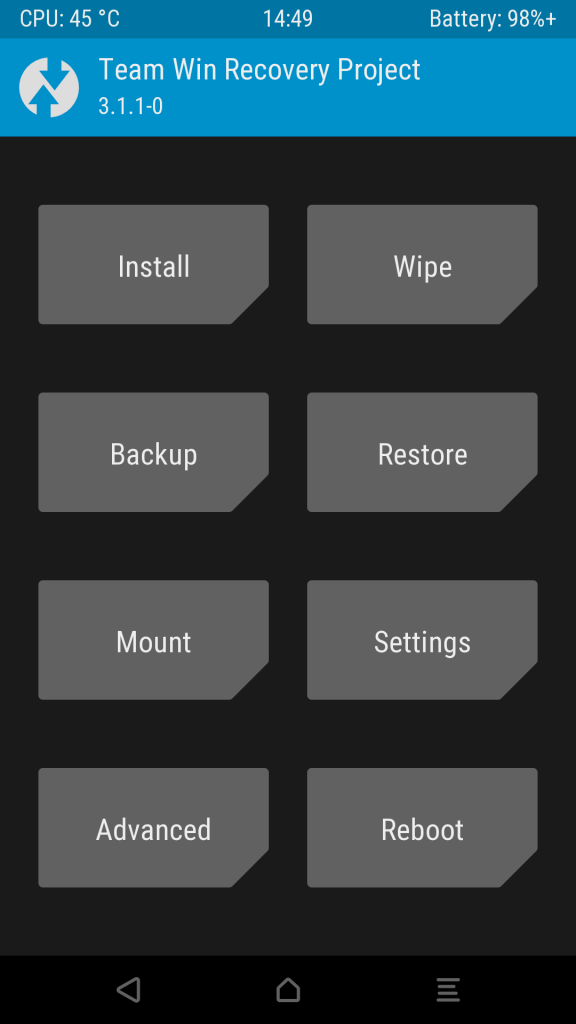
This is how TWRP’s main menu looks like:
Rooting your Phone with Magisk
Now that you installed a custom recovery, you can “root” your device with Magisk. “Rooting” means you get “root” permissions, which means more or less unrestricted access to your device and its operating system. As of the time of writing, the current stable version of Magisk was 17.1.
Magisk will install in systemless mode, which means it won’t modify your /system filesystem, but just the boot image. The benefit of this is that you can still take OTA updates. You just have to replace your custom recovery with the proper “stock” recovery before you try to apply the update. With a modified /system this will not work, because it is not safe to apply differential updates (which is essentially what OTA updates are) to a modified system.
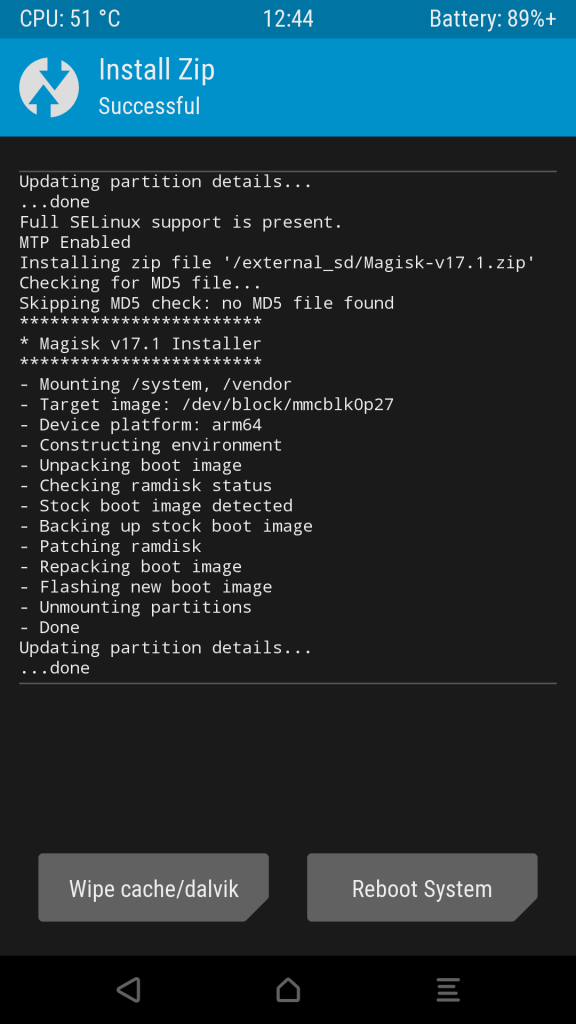
To install Magisk, download and copy the install ZIP file to your phone’s microSD card, and boot into TWRP. Then select the Install menu item, and browse to the place where you copied the ZIP. If all goes well, it should look like this:
There’s usually no need to wipe /cache or dalvik. /cache is usually empty anyway (apart from TWRP settings), and the system normally detects when it has to rebuild entries in the Dalvik cache, so there’s no need to force a rebuild by clearing the cache.
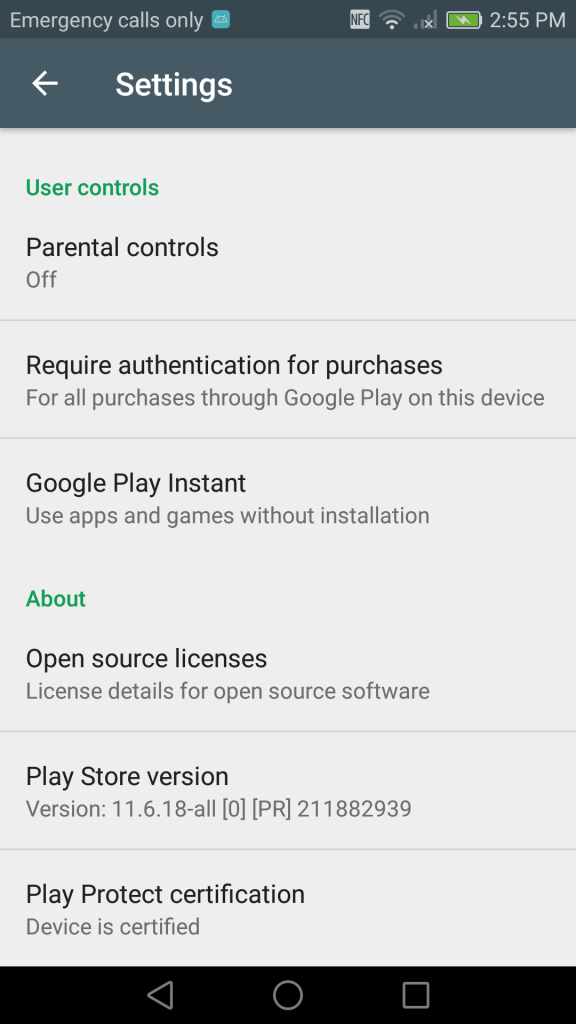
In Magisk Manager, you should hide Magisk from all Google apps. That keeps your device status as “Certified” for Google Play:
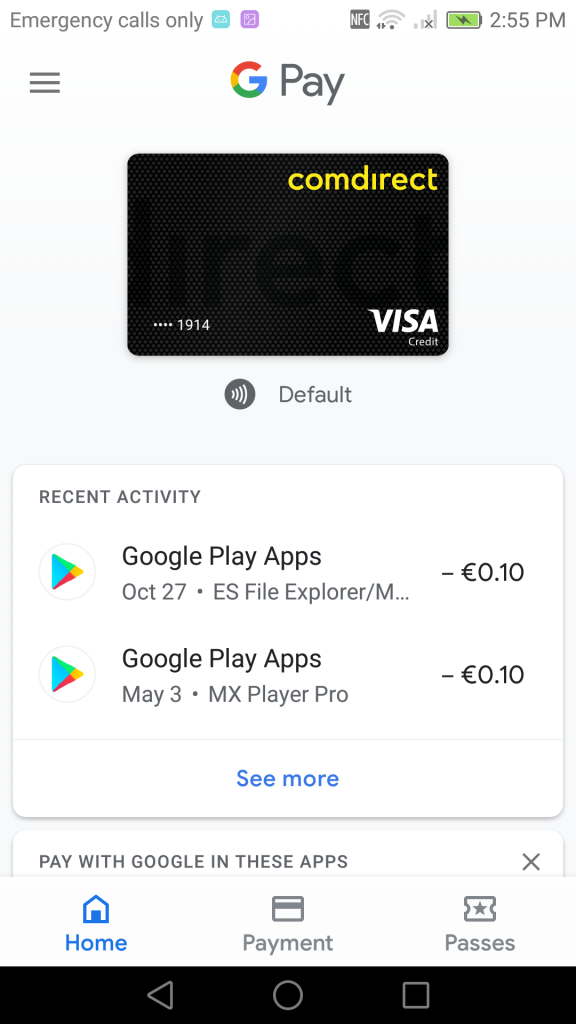
It even makes Google Pay work with your credit card enabled for NFC payment. 🙂
Firmware Customizations
Huawei uses numeric codes to designate the country/region in their firmware customizations. The below shows the meanings of the different codes:
CUST Region Provider
C02 Europe Vodafone
C10 Russia
C21 Telefonica / O2
C40 Czech Republic Telefonica / O2
C55 Italia TIM
C86 Spain Yoigo
C112 Latin America
C121 Turkey
C123 Switzerland
C150 Telekom
C151 India
C185 Middle East
C209 Asia (Pacific)
C249 Serbia Telekom
C432 Europe
C470 Asia (Pacific)
C605 Colombia
C636 Asia (Pacific)
C637 Spain
C675 India
C900 General Free intern. Version
The customization is stored in a dedicated partition,
/dev/block/platform/hi_mci.0/by-name/oeminfo
By backing up and restoring this partition it is possible to switch between different firmware customizations. Note that if you don’t have the “correct” customization set on your device, you might not receive OTA updates you expect!