
As a long-time Android user (since the days of Android 2.0, if I remember correctly), I have seen many things already, especially as I was involved in the development of mobile phones, and also fiddled a lot with CyanogenMod, LineageOS, and other custom ROMs. Still, I recently discovered something new for myself, and this is something I really find spectacular. It’s a new mechanism to flash Android firmware builds, and it’s called “Android Flash Tool” (AFT).
Let me elaborate…
Usually, to reflash a device you need to install a program on your workstation, like a vendor flashing tool, or the Android Debug Bridge (adb) command-line tool. With the Android Flash Tool, this is no longer required. The only thing you need is your WebUSB-capable (browser). 🙂 Currently, only Chrome or Edge support it. (Firefox currently doesn’t support it due to security concerns.)
Also, the number of devices which support the AFT is very, very limited. Basically, it’s just the Google Pixel series of phones, plus a few development boards.
But if you have one of those devices, it’s pretty cool.
To flash your phone, when using Windows you need to install a customized driver for your phone, so that it will be properly recognized. Then, enable the developer options and USB debugging. You also need to enable “OEM Unlocking” there.
Now you’re ready to start the flashing procedure.
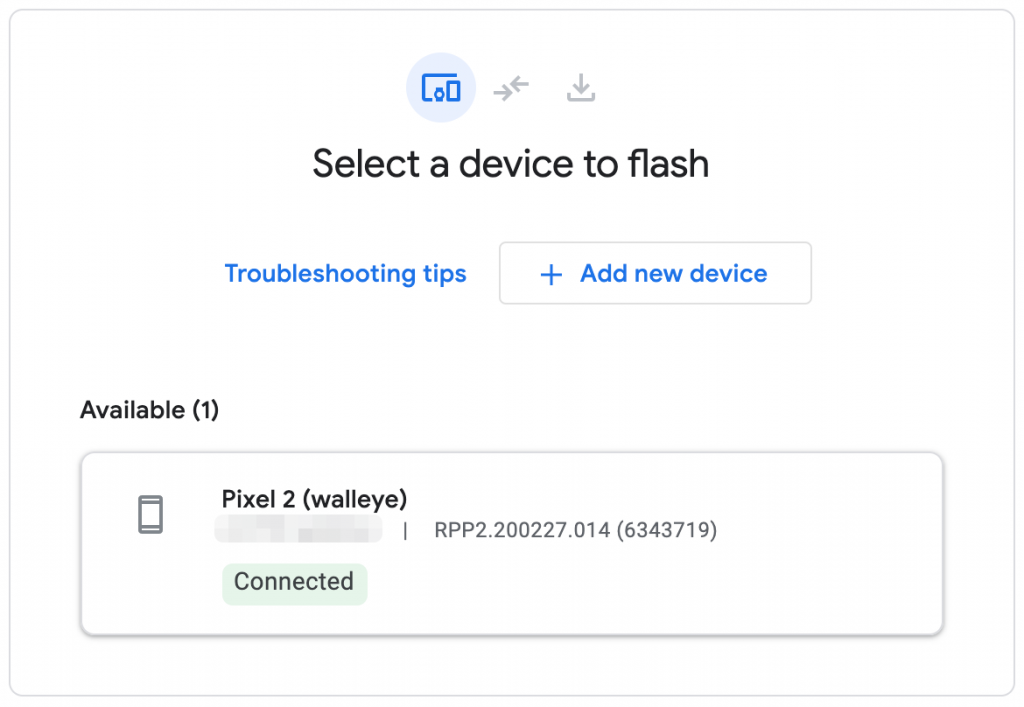
Launch https://flash.android.com/ in one of the above browsers. The tool will now communicate with your phone, the same way like adb does, so please accept the connection request. AFT should now show your device:
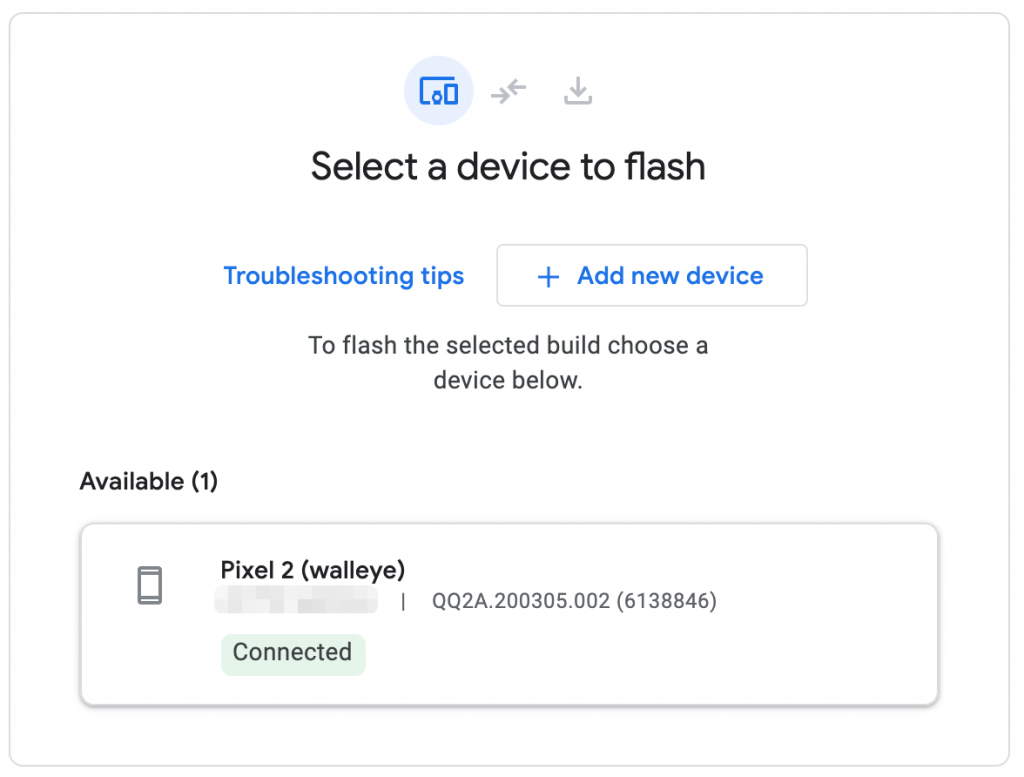
Now click on the button “+ Add new device” to add it to the list of devices to be flashed, and select a build you want to install on your device. Then you have the following screen:
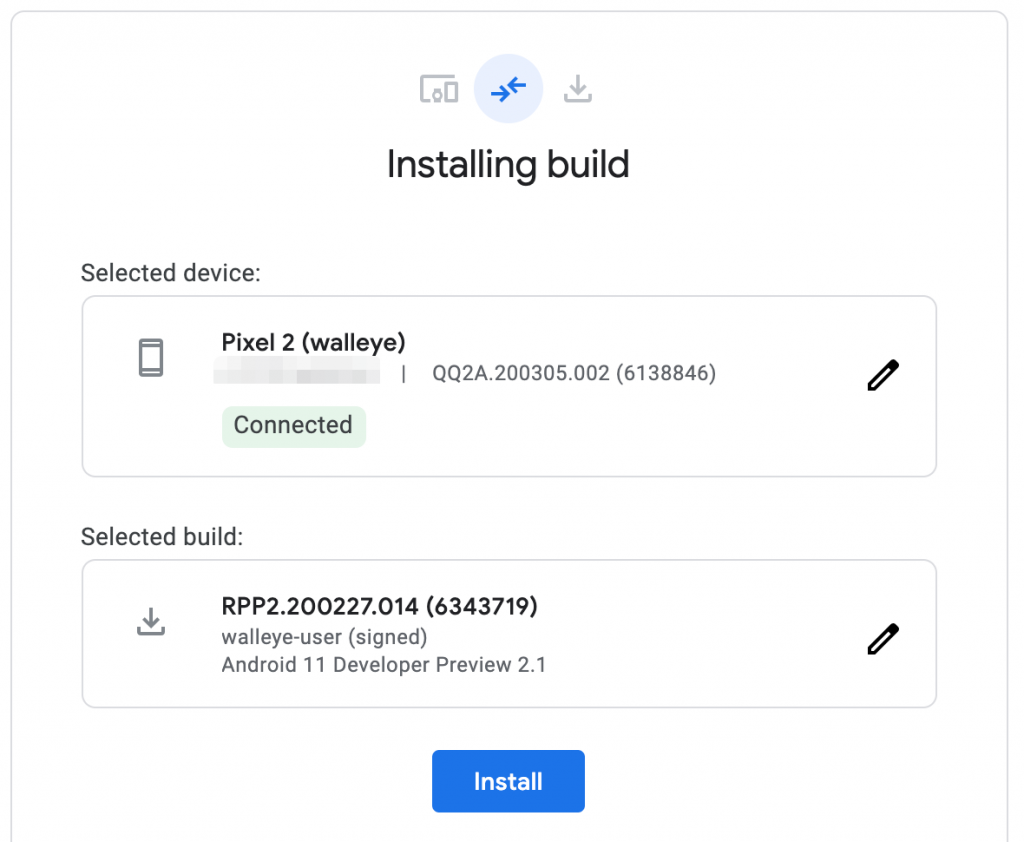
If you are fine with your selection, click the “Install” button to proceed to the following screen:
![]()
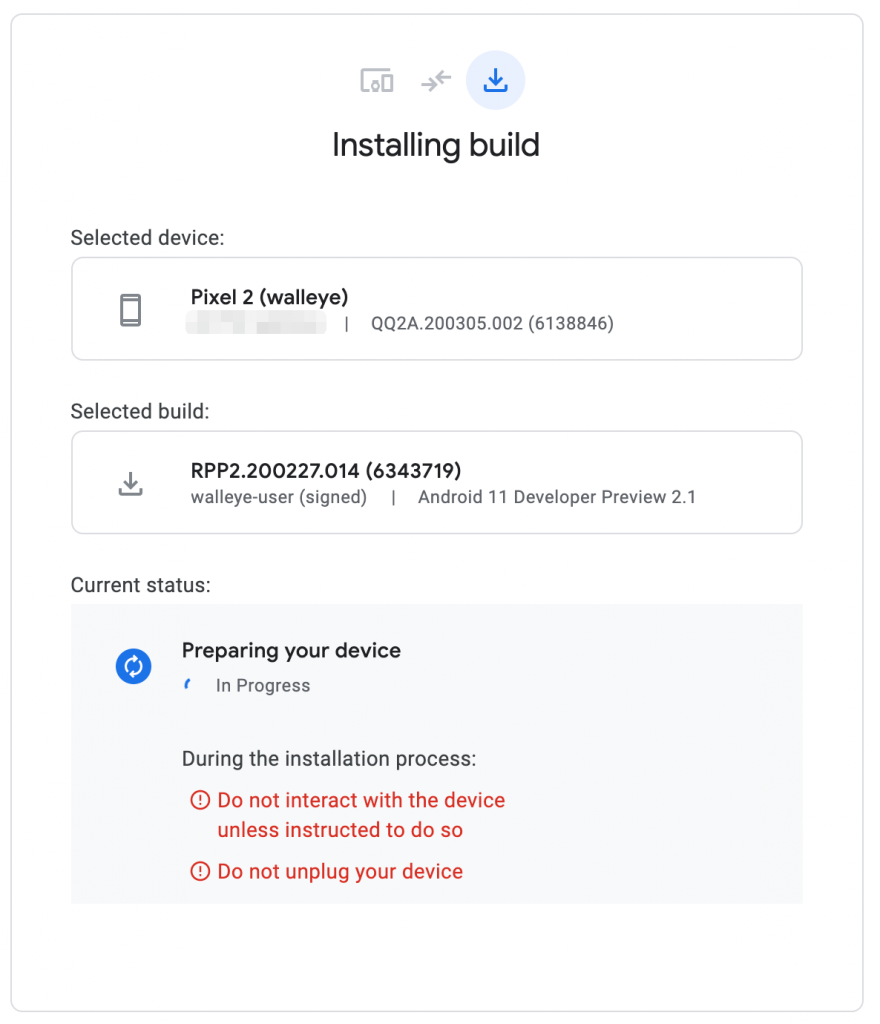
You better read (and observe!) the notice in red, and then you’re ready to do the final confirmation by clicking the “Confirm” button. Now the actual flashing process starts:
Briefly later the device wants to reboot into the bootloader:
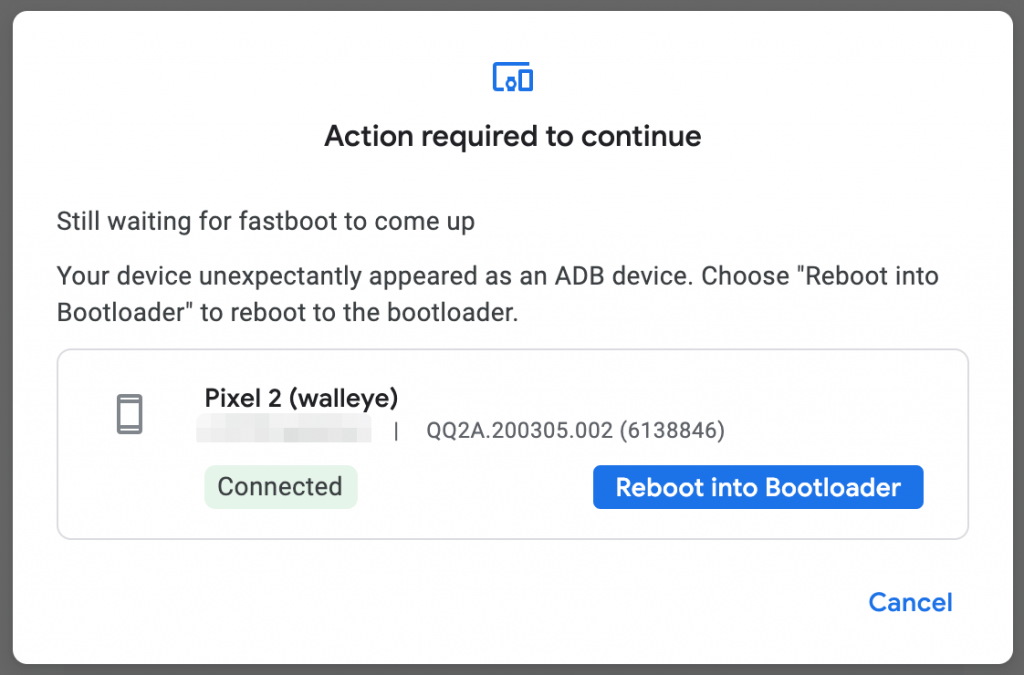
Confirm this by clicking the blue “Reboot into Bootloader” button. Now the download of your firmware binary begins:
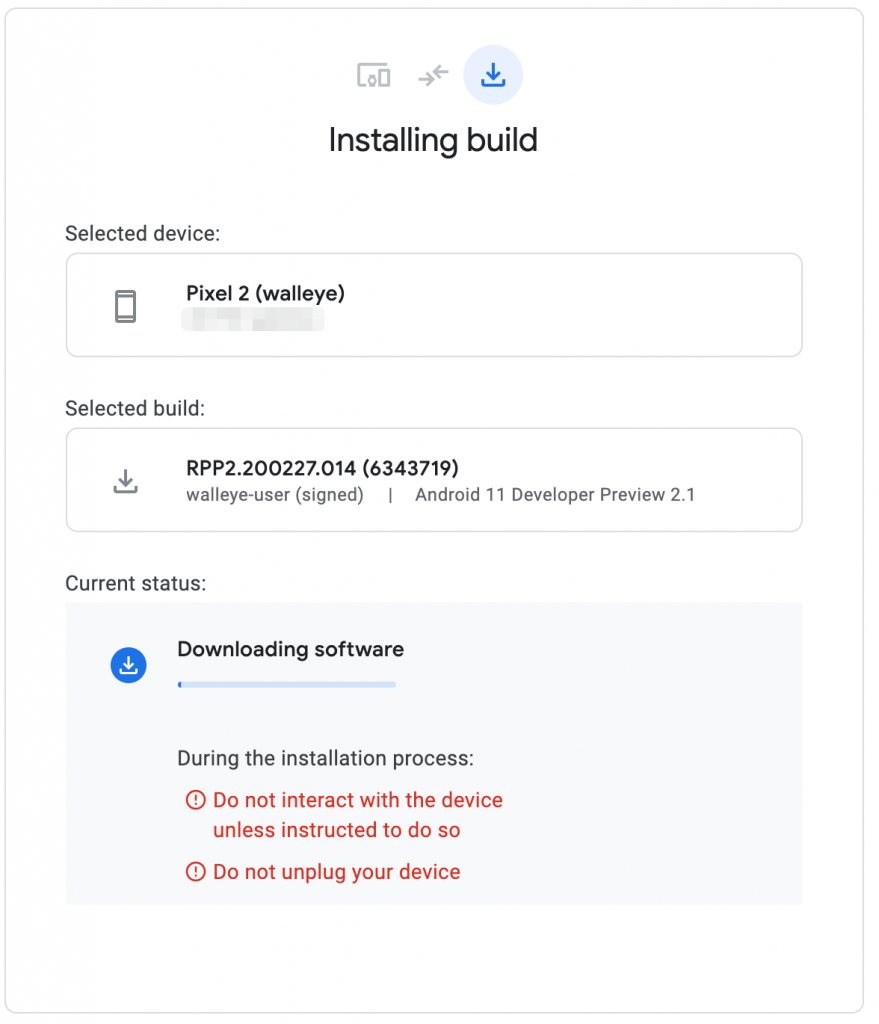
Once downloaded, the installation (flashing) begins:
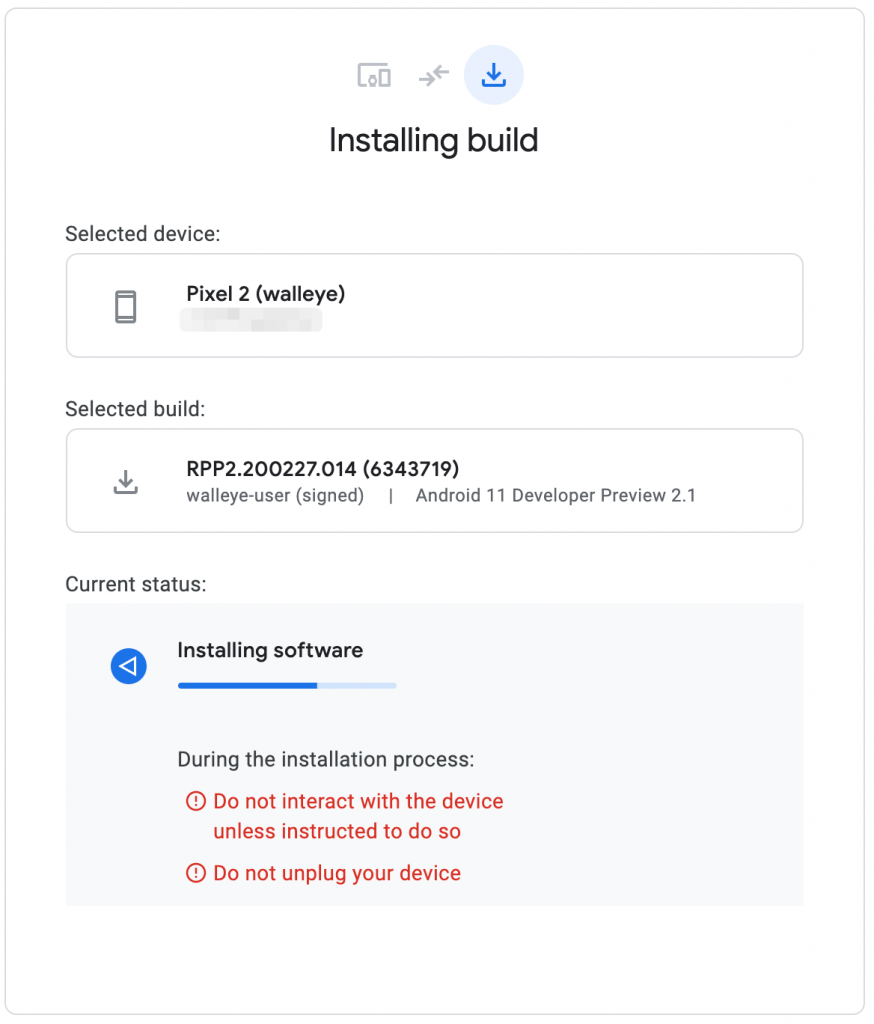
After a while, the flashing will be (hopefully ;-)) successful, and you get the following message:

Now you are back to the initial view, and you see the firmware build version you just flashed:
I hope this was interesting for some of you — as many of you may never see this in real life (for now — maybe in the future there will be more devices supporting AFT?!).
Let me know if you liked it…
Thanks for reading, and stay safe and sound.