
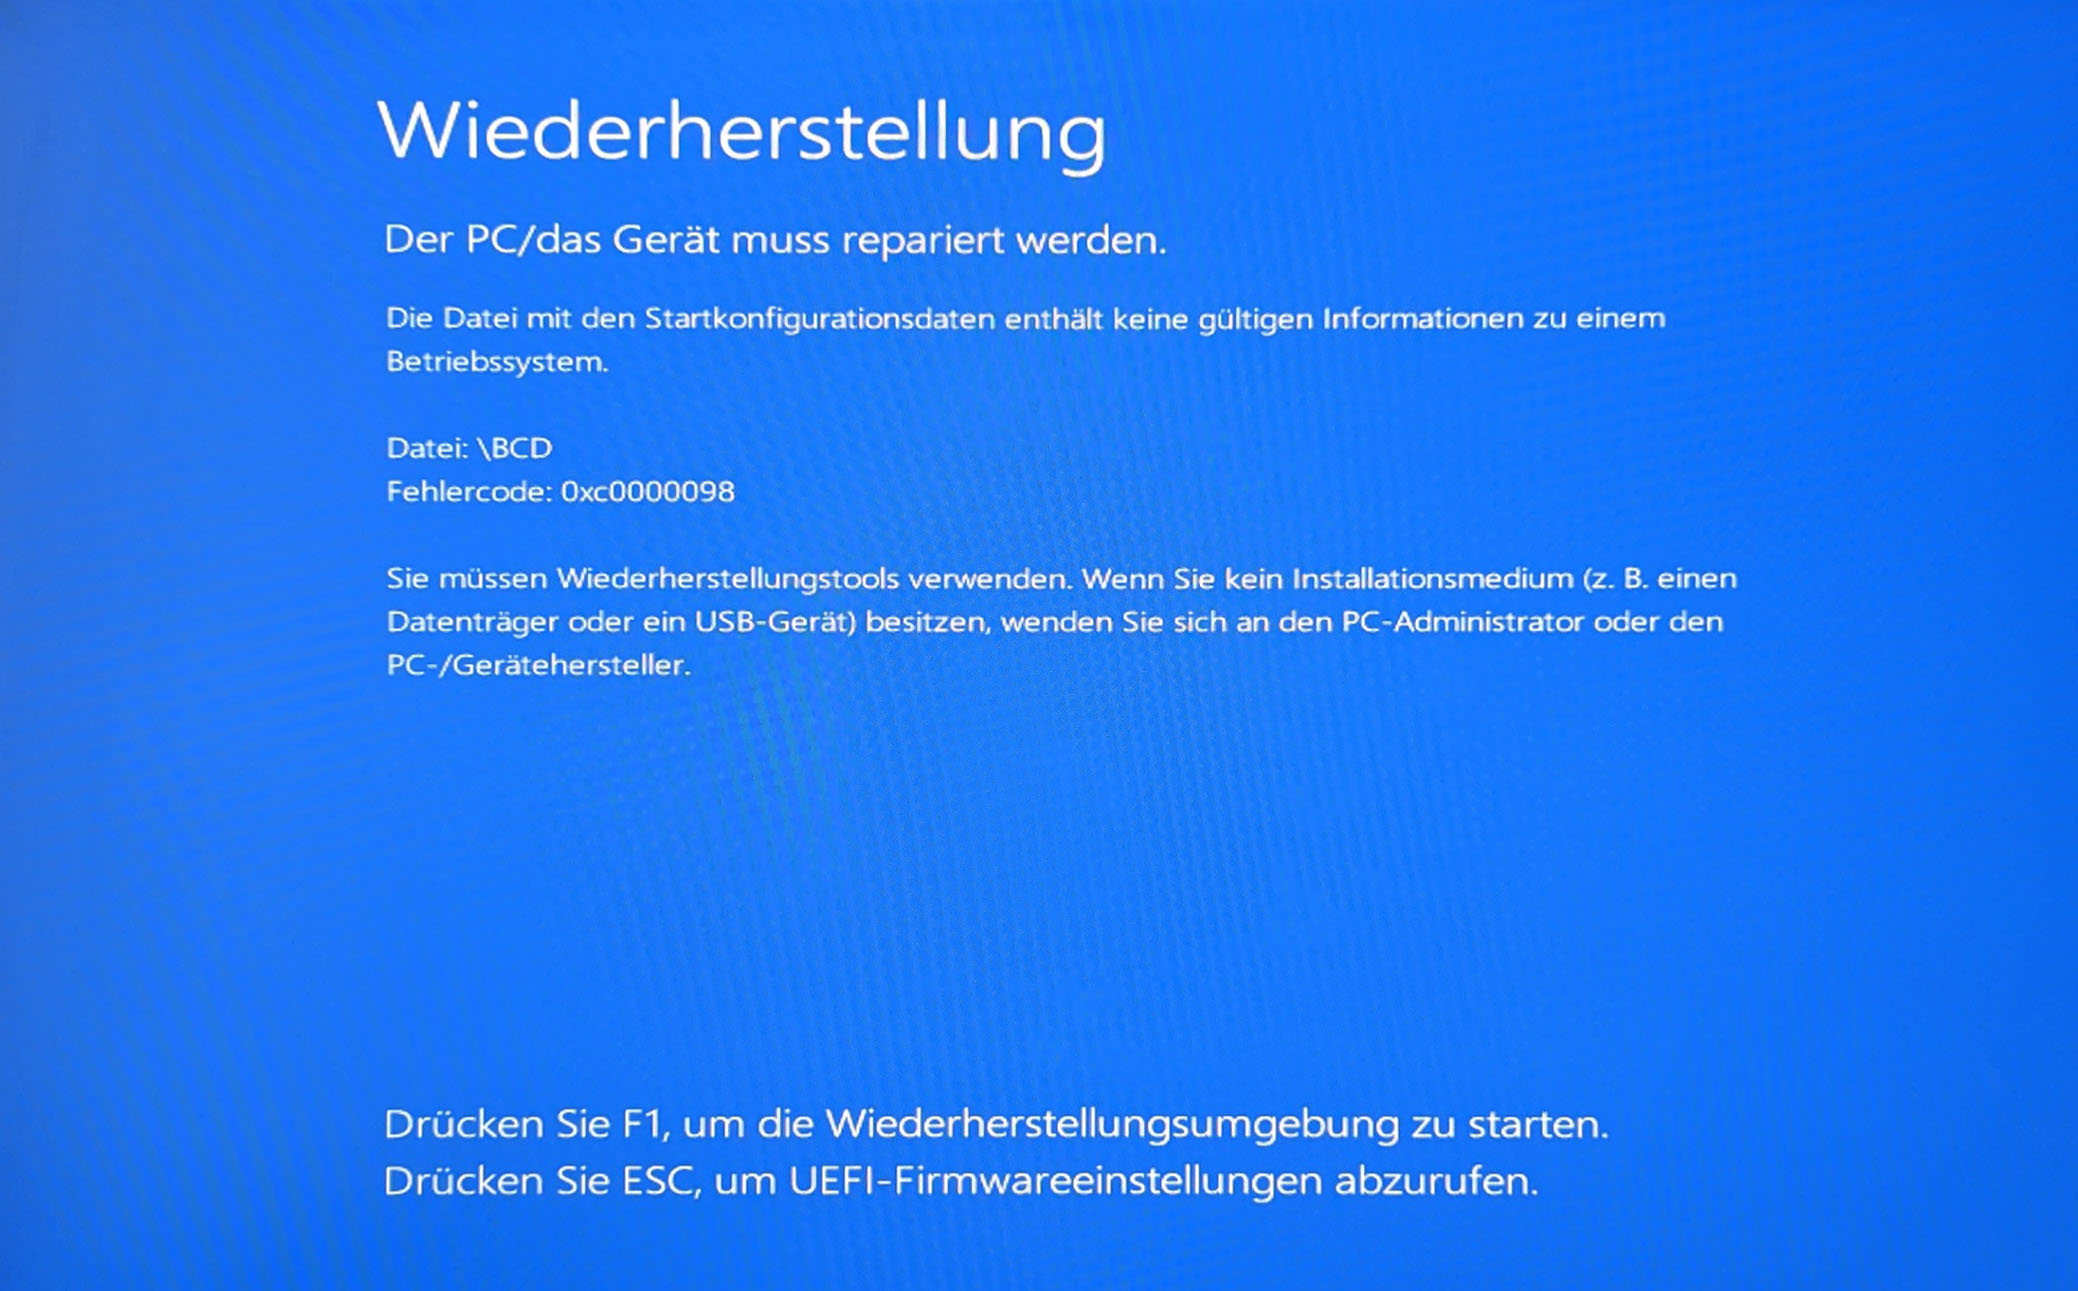
I recently had a mishap where on a system that I had just upgraded from Windows 10 to Windows 11 the Windows BCD Store (Boot Configuration Data Store) was suddenly messed up, presumably by a patch update I had taken earlier:
Many people will recommend in that situation to boot to a Windows Recovery Environment (RE) and execute the following:
>bootrec /rebuildbcd
But what if the scan for all Windows installation turns out not to identify yours?! Like in the below photo?
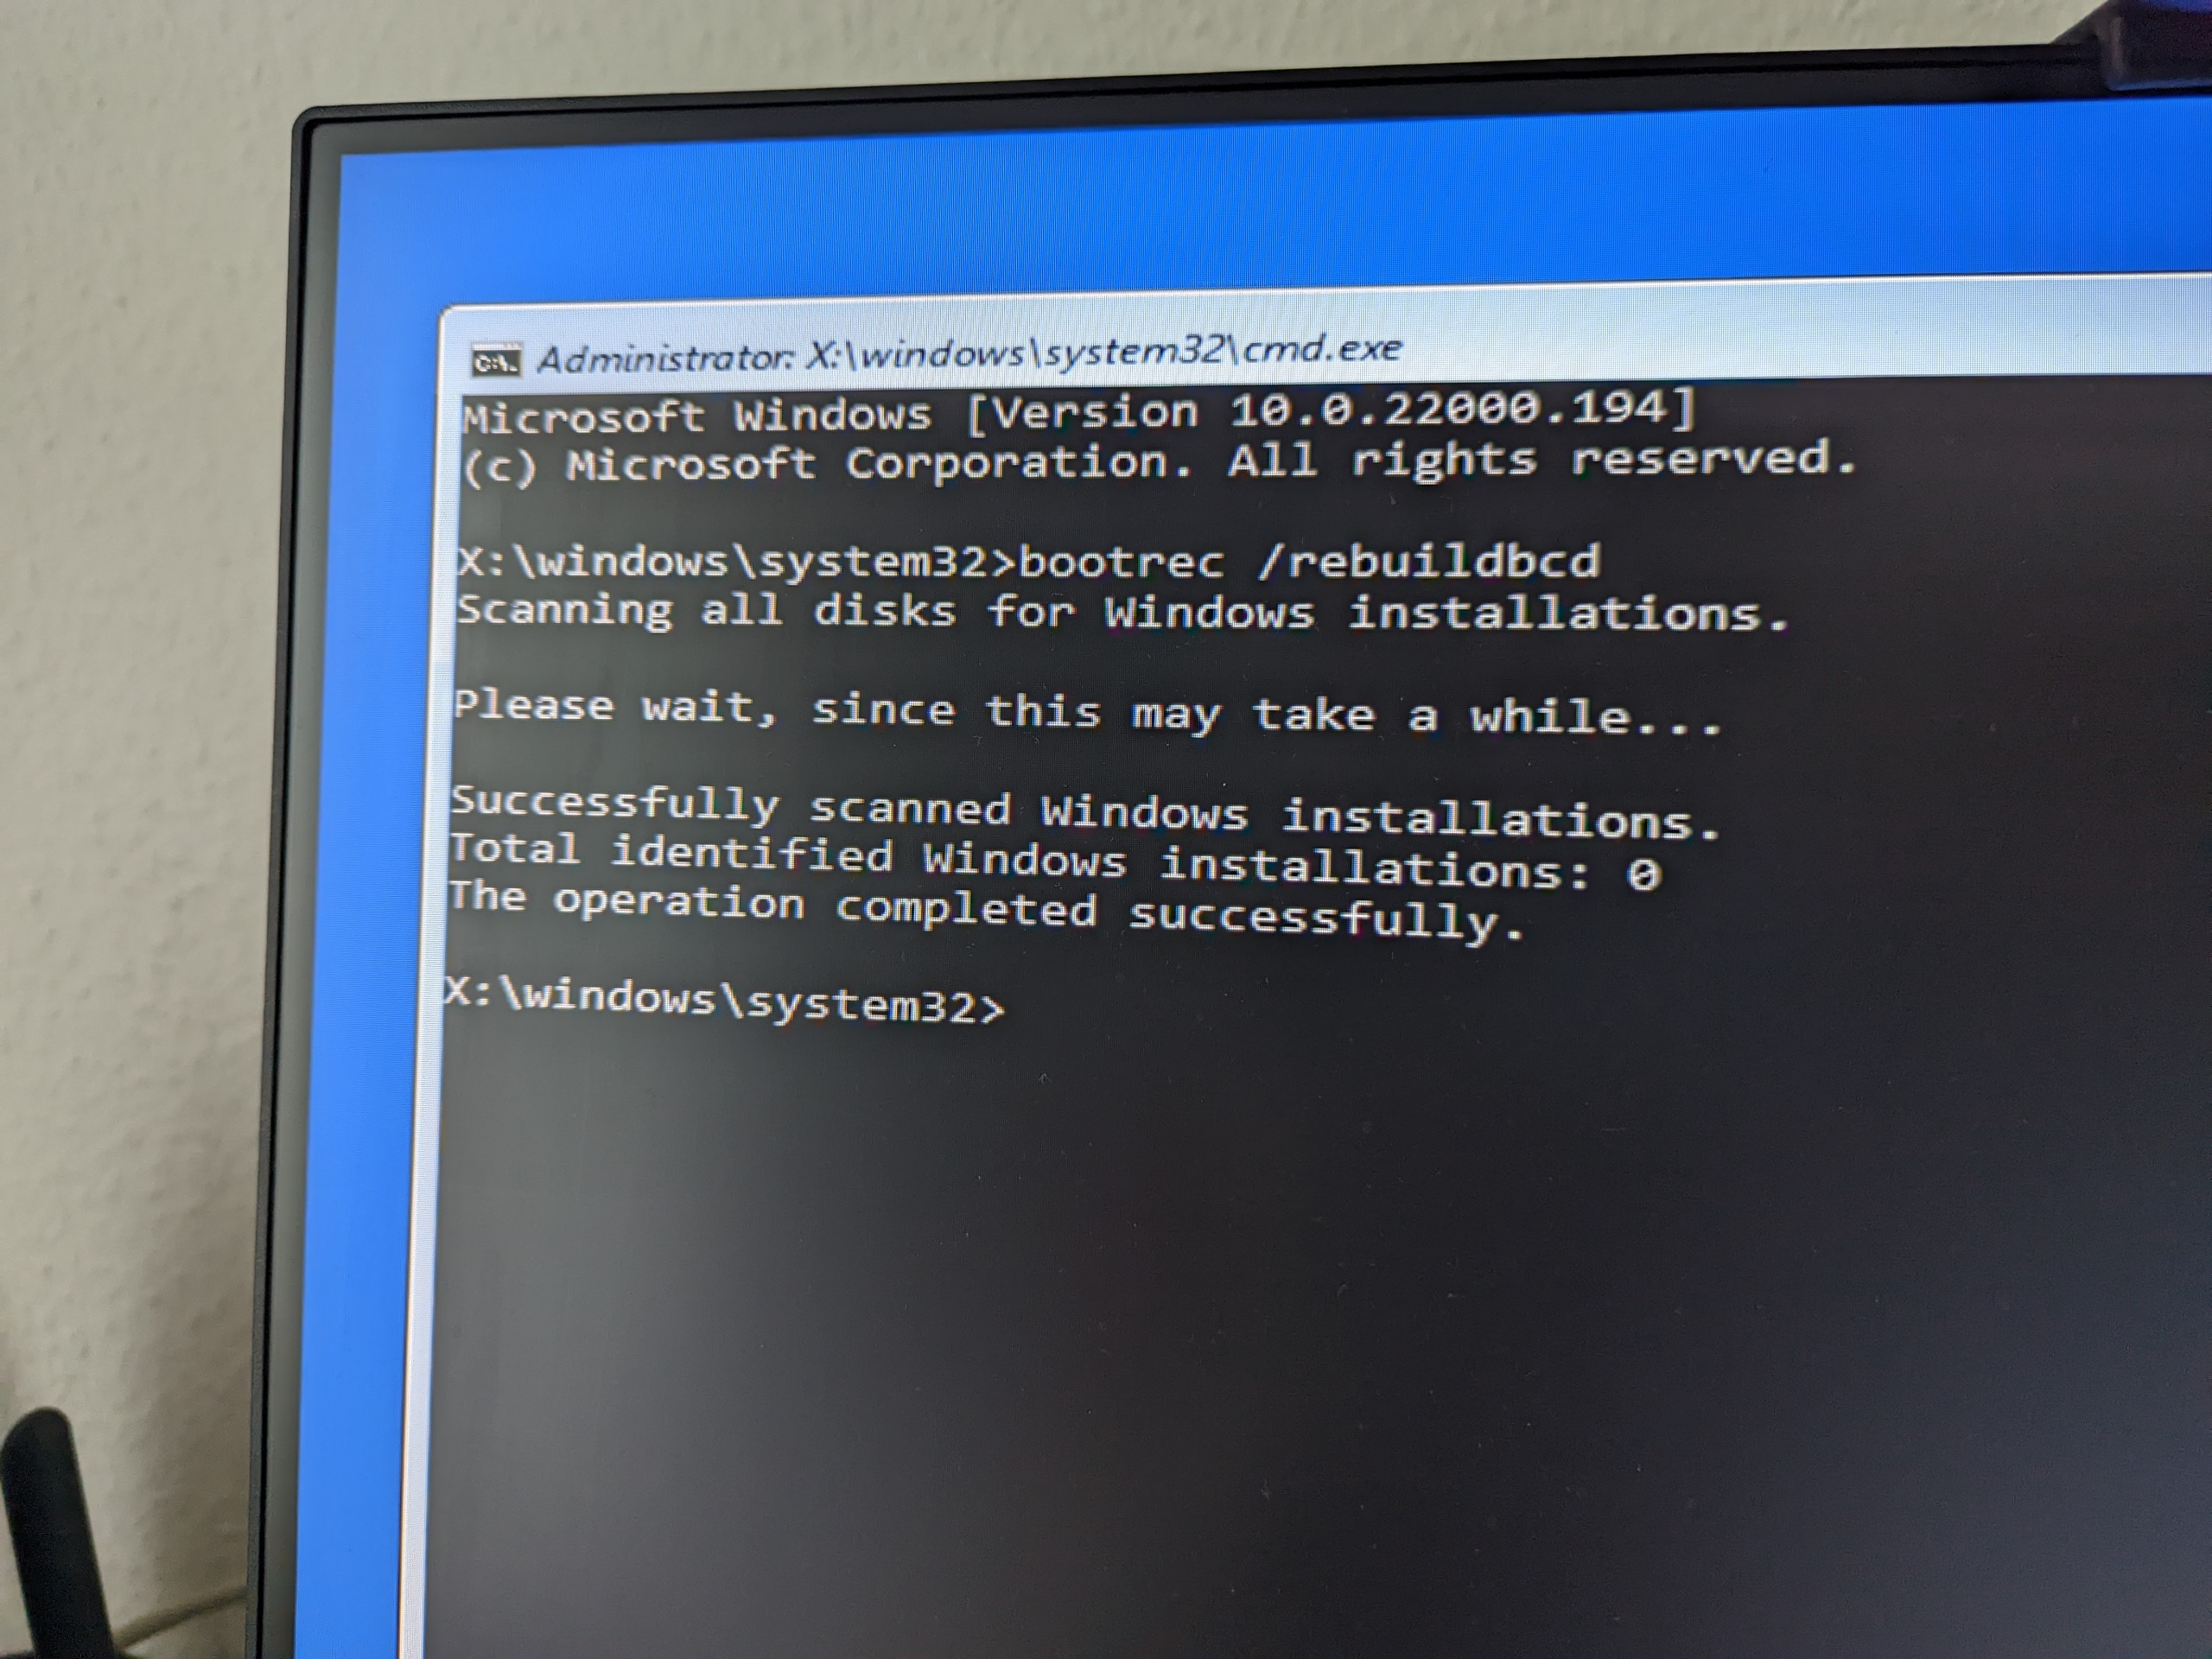
Are you SOL then?
Don’t despair.
The solution is actually quite simple. Other than the above which is supposed to be fully automatic, it involves some manual tasks, but it should be quite easy if you are at least a bit tech-savvy.
So, as advised above already, boot into your RE. If your system is in a similar state like mine was, you can simply press F1 on the blue screen you will have in front of your eyes, and from there click your way thru until you come to the command console. Otherwise create a bootable USB drive, e. g. using the Microsoft “Media Creation Tool.”
Once in, please launch the “diskpart” program (which is the “Swiss Officer Knife” for low-level disk management in Windows since a while, similar to what “fdisk” did in the past).
>diskpart
Microsoft DiskPart version 10.0.22000.653
Copyright (C) Microsoft Corporation.
DISKPART>
Then press “list disk” to enumerate all disks that are present in your system.
DISKPART> list disk
 Disk ###  Status         Size     Free     Dyn  Gpt
   --------  -------------  -------  -------  ---  ---
   Disk 0    Online          931 GB    93 GB        *
   Disk 1    No Media           0 B      0 B
   Disk 2    Online           29 GB      0 B        *
   Disk 3    No Media           0 B      0 B
Make absolutely sure you identify the correct one to contain your Windows installation. Once you found it, use it in place of “N” in the below command:
select disk N
This makes your Windows disk the selected disk for the following operations.
You can then enumerate all existing partitions by executing the below:
list partition
Now identify your EFI partition. It should be a system partition sized 100 MB, so usually easy to spot it.
DISKPART> list partition
 Partition ###  Type              Size     Offset
   -------------  ----------------  -------  -------
   Partition 1    System             100 MB  1024 KB
   Partition 2    Reserved            16 MB   102 MB
   Partition 3    Primary            837 GB   118 MB
   Partition 4    Recovery           616 MB   837 GB
Note the partition number and use it in place of the “N”, entering the below command:
select partition N
Now assign it a letter, so that you can later refer to it:
assign letter=Z
Then leave the “diskpart” tool again:
DISKPART> exit
Leaving DiskPart…
Now you’re ready to finally fix your BCD.
Enter the below command, substituting the values that apply to you, i. e. the ones you found and used earlier in this tutorial.
bcdboot E:\windows /s Z:
What this will do is copy critical boot files to the system partition and create a new system BCD store.
That should be it.
Once I had executed the above steps, I rebooted the machine, and it launched Windows with no issues anymore.
I hope this will be helpful for some of you out there. Good luck, if you are in a position that you need help to rebuild your BCD!