Today I migrated from a Synology DS415+ (upgraded to 8 GB myself) to a brand-new, unused Synology DS916+ (8 GB factory equipped.)
I followed the instructions given by Synology, but as my actual experience was considerably different (actually easier!) from what supposedly should have happened, I’m documenting them here for reference.
I started by upgrading the old unit to the latest DSM version, and then shutting it down. I moved all four hard drives to the new unit, making sure the same order of the drives in the drive bays was maintained.
I then switched on the new unit and launched the web UI in a browser. This is what I got:
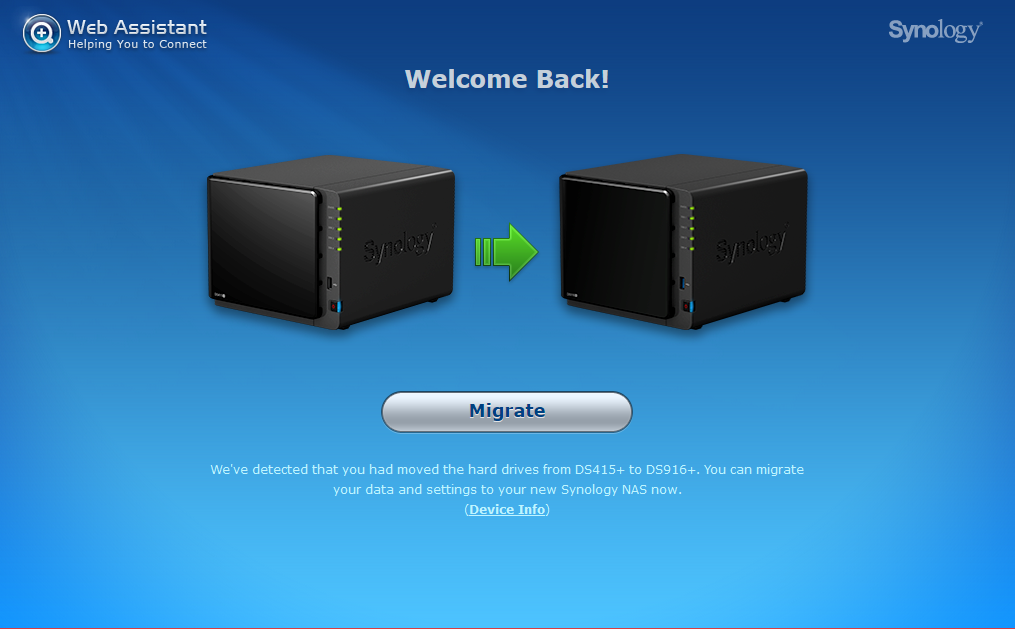 So I clicked the “Migrate” button and came to the following screen:
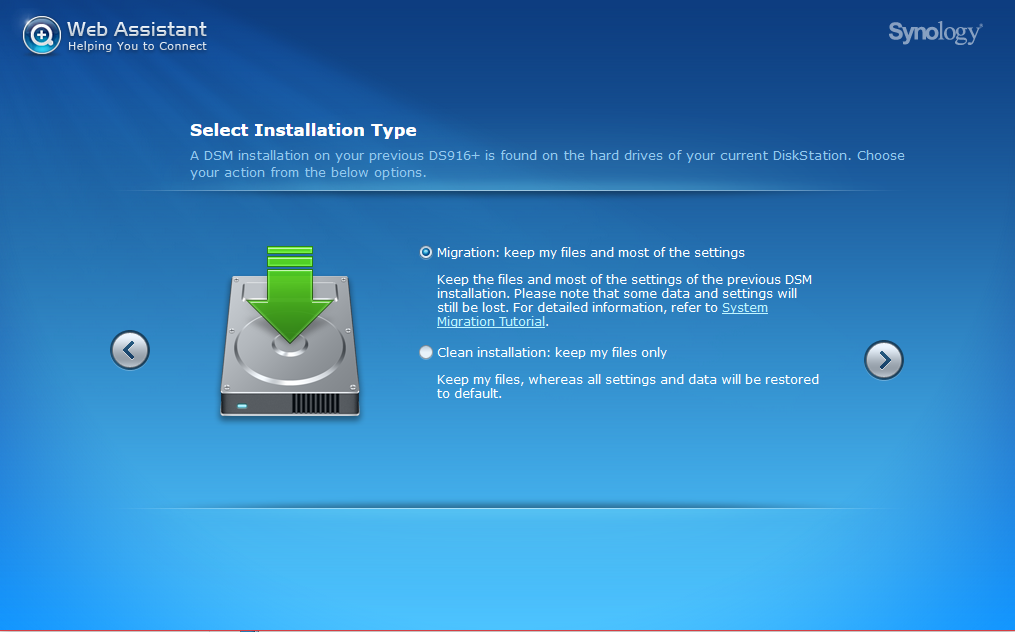 Here I kept the default choice of “Migration,” as I wanted to “keep my files and most of the settings,” and clicked the “Next” (right arrow) button, which brought me to the following screen:
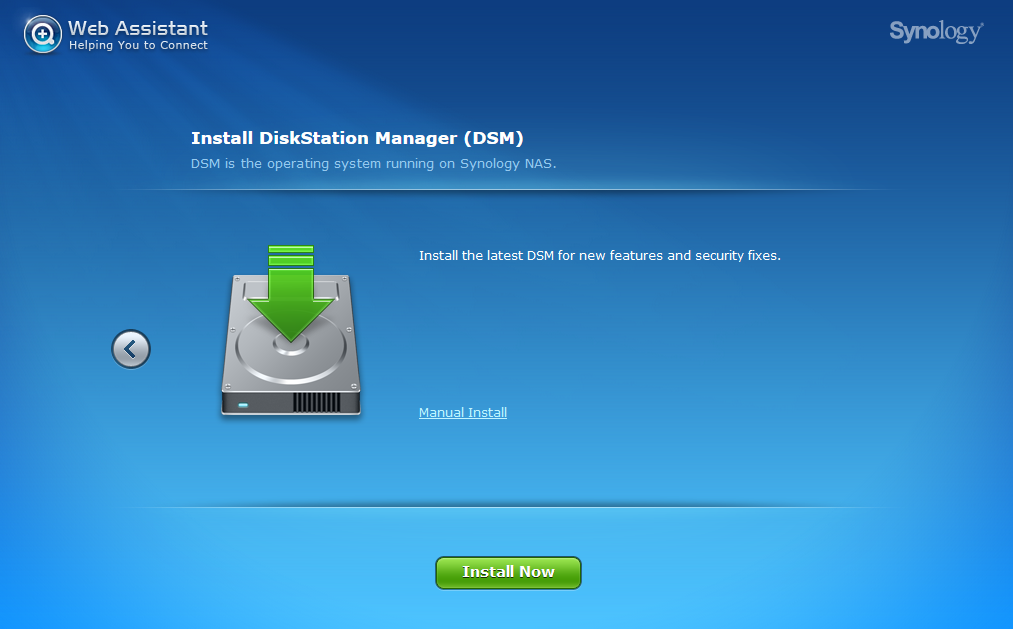 At this point the web assistant reinstalled the latest version of DSM, probably to make sure that the architecture of the installed DSM matches that of the new unit:
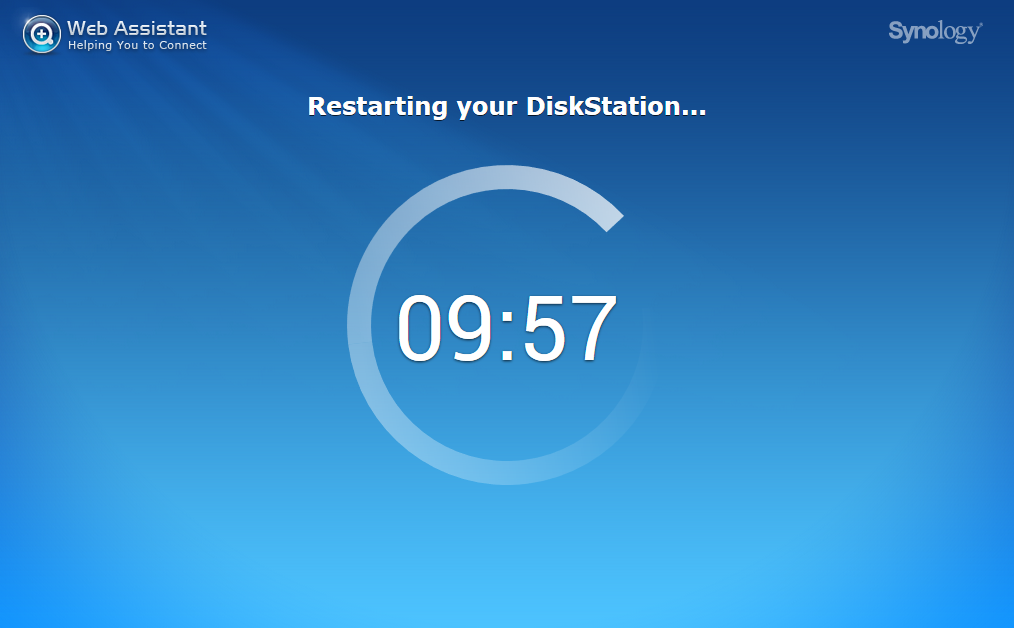
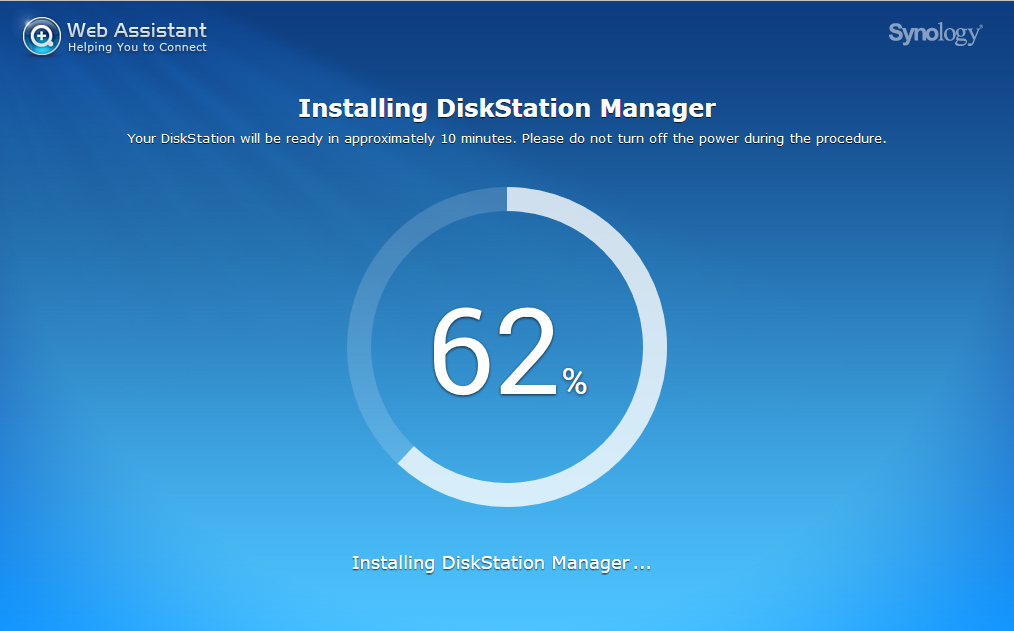 When DSM was reinstalled, the unit rebooted:
 After the reboot, I was right back in the console:
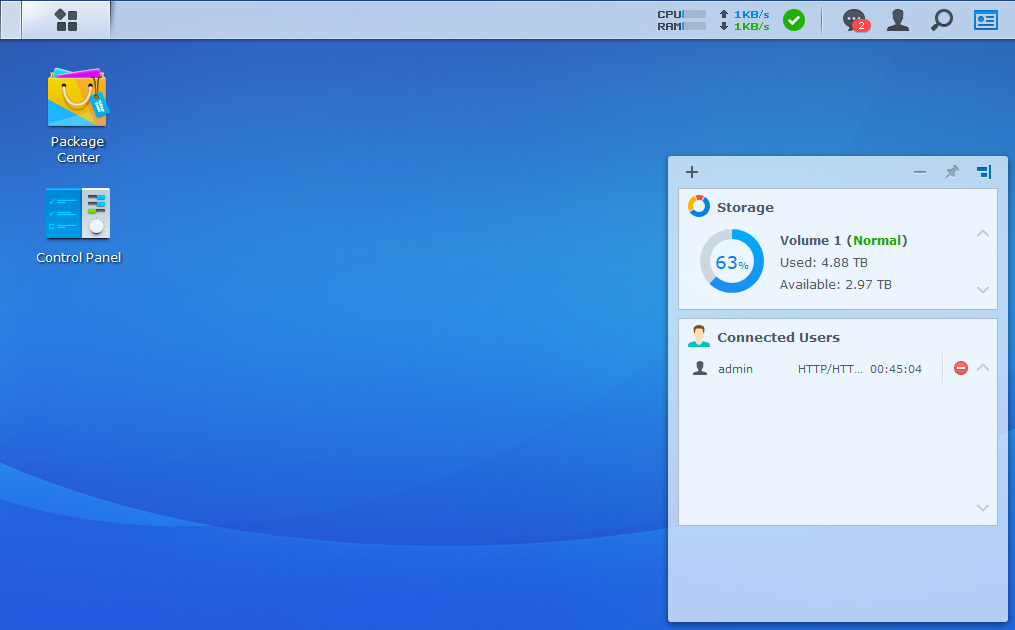 No need to even log in or change the admin password, as Synology stated:
15. Enter a new password for the admin account and click Install Now
I then checked all settings, and to my surprise all previous settings had been preserved, even though Synology’s instructions explicitly say you have to backup and later restore your configuration:
4. Go to the Configuration Backup tab and click Back up configuration. A configuration file named [DiskStation Name]_[Created Date].dss will be downloaded to your computer. Keep this file in a safe place.
and
18. Go to the Configuration Backup tab and click Restore configuration
All packages previously installed were still installed according to Package Center (and there were actually still installed!), but there were no icons in the “Main Menu” for all applications that are not installed by default, i. e. that had been explicitly installed by myself.
When I stopped and restarted “Audio Station”, suddenly all missing icons appeared in “Main Menu.”
So that was a super easy and painless migration — to be honest I didn’t expect that, after all the many quirks I had observed in DSM so far.
Let me know if this helped in any way.