I decided to write this post since I couldn’t find any single page that lists all the “secrets” you need to know when modding your Sony Xperia X Compact (XC) codenamed “Kugo” in a concise manner and in a single place. And after half a year when I last tinkered with my XC, I had forgotten about all the details again, so I had to research them again anyway…
I give credit to the following XDA people (but not limited to them, I apologize to those who I might have forgotten):
- ondrejvaroscak for how to boot into fastboot or bootloader modes
- eagleeyetom for his port of TWRP 3.1.1-0
- GadgetHacks for the explanation of fastboot
- nialv7 for his port of TWRP 3.2.1 for Oreo
General Approach
The general approach when modding your phone is the following:
- Flash custom recovery
- Backup current installation/data
- (Optionally: flash latest stock firmware)
- (Optionally: flash custom recovery that works with your new stock firmware)
- Root
- Flash other mods or use “root” apps
Custom Recovery
Fastboot Mode
First let’s explain what “fastboot mode” is: Fastboot is both a tool and a protocol for writing data directly to your phone’s flash memory. In practical use, it is used to flash images such as recoveries, bootloaders, and kernels to your Android device.
The “fastboot” tool (as well as “adb” which is also needed when tinkering with your Android smart phone) is part of the Android “platform tools,” which you can download directly from Google (roughly 4M only).
To bring your phone into fastboot mode, perform the following steps:
- Switch the phone off.
- Hold “Volume up” and connect your phone to the USB port of your PC. The notification LED should first light up in red, then blue, and provided you have correctly installed drivers, you will be able to use fastboot commands.
Note that the screen will remain black. You can check whether you are in fastboot mode with the following command:$ fastboot devices BH901XXXXX fastboot
If you see output similar to the above, you have successfully put your phone in fastboot mode.
Flash TWRP Recovery
You need a custom recovery to backup your phone, or to flash custom kernels or even custom Android distributions, or become root, e. g. using “SuperSU” or “Magisk.”
TWRP is the custom recovery used everywhere in Android.
Download TWRP for Kugo from the below locations:
- For Nougat (Android 7.x.x): from this place (supports
/datadecryption!) - For Oreo (Android 8.x): from here (as of 2018-03-18, does not support
/datadecryption even though it claims to do so!)
To flash TWRP, put your device in fastboot mode as described in the corresponding section, then issue the following command:
$ fastboot flash recovery twrp-3.1.1-kugo-2017.08.22.img
target reported max download size of 536870912 bytes
sending 'recovery' (19740 KB)...
OKAY [  0.678s]
writing 'recovery'...
OKAY [  0.249s]
finished. total time: 0.928s
To boot into your freshly installed recovery, disconnect the USB cable, and then press “Volume down” and “Power” and keep both depressed until you feel the device vibrate. Then let go the “Power” keep, and still keep “Volume down” depressed. The notification LED should light up in purple, at which time you can let go also the “Volume down” key. After a couple of seconds, you should see the TWRP startup screen.
Backup your Device using TWRP
First thing you should do before you start experimenting is backup your device. Since TWRP 3.1.x.x you can directly backup to your PC, instead to the device itself, which is very convenient for safety and space reasons.
To do so, boot into TWRP a described in the previous section, and then issue the following command:
$ adb backup -f sony_xc_20180315T2100Z.ab --twrp
Now unlock your device and confirm the backup operation...
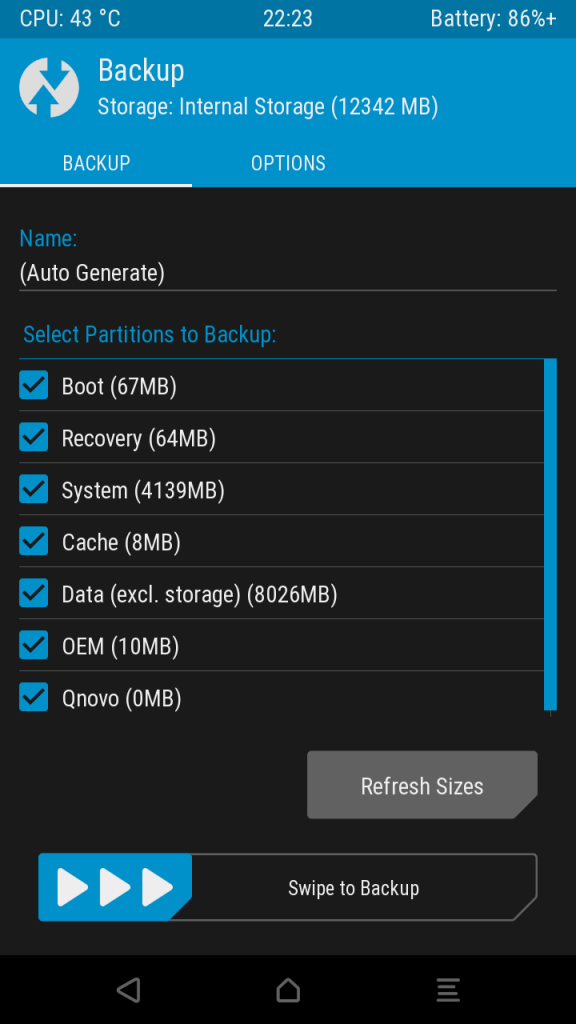
In TWRP you then select the filesystems to be backed up
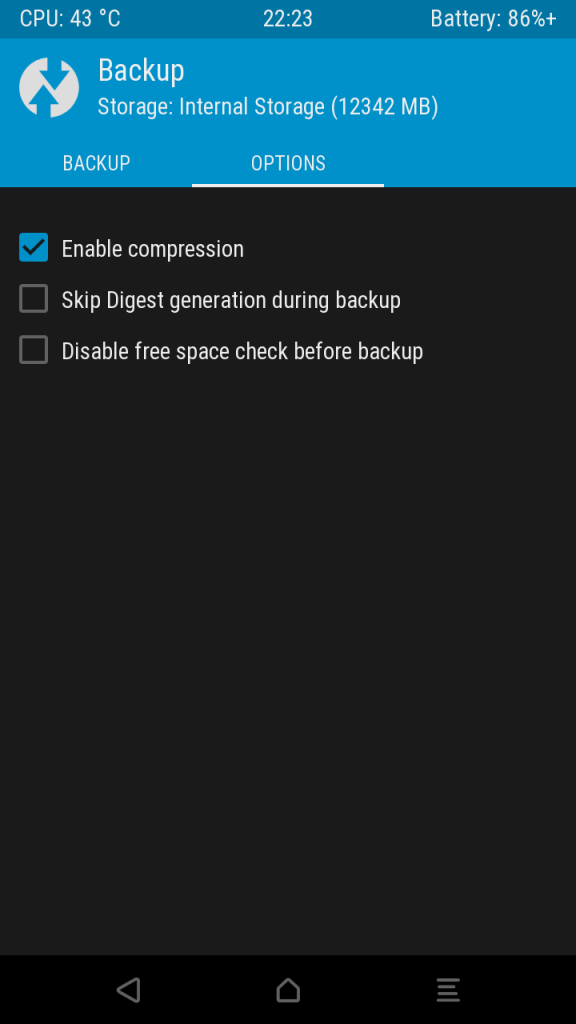
and the options:
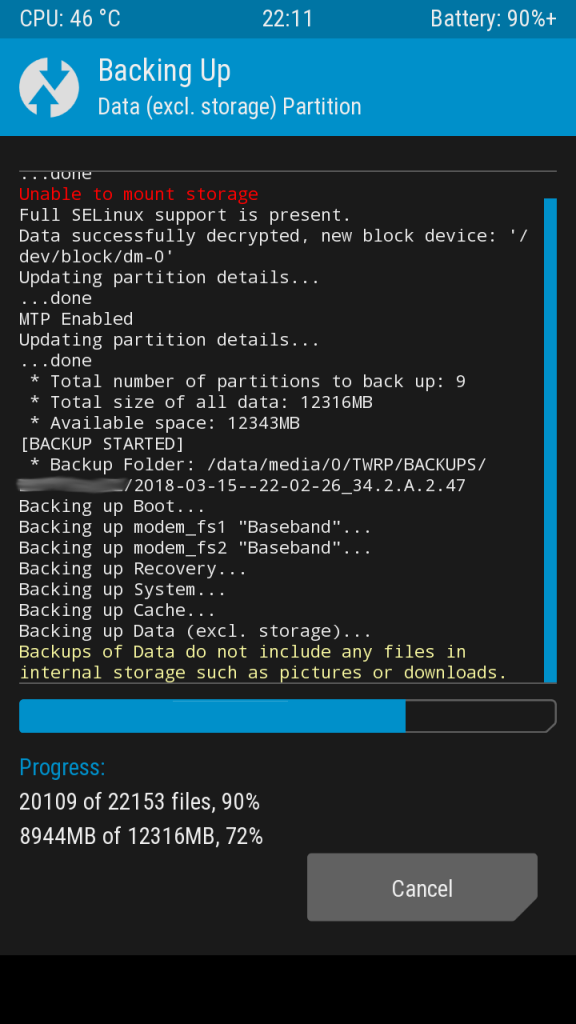
After you start the backup operation in TWRP, you see something similar to the following:
To restore your backup, invoke the below command:
$ adb restore sony_xc_20180315T2100Z.ab
Flashing Stock Firmware
If you as an adventurous user want to flash stock firmware (i. e. original firmware supplied by Sony), you usually use a tool called “Flashtool” for maximum flexibility.
This tool requires as an input for the actual flash operation so-called FTF files. These can be created by Flashtool itself, based upon the vendor flash files FILE_*. The vendor flash files can be downloaded with XperiFirm.
So the steps are:
- Find out firmware customization
- Download suitable vendor firmware flash files with XperiFirm. It will automatically decrypt the vendor flash files.
- Convert to FTF with Flashtool’s bundler
- Flash TFT with Flashtool. If you want to keep your current apps and data, be sure to untick “Data & Cache” under “Wipe.”
Find out Firmware Customization
If you want to find out your current firmware’s customization, known as “CDA number,” follow the below steps:
- Enter
*#*#7378423#*#*in the dialer - Click “Service Info” -> “Software Info” and look at “Customization Version”
Now that you know your CDA number, you can use this to download a suitable firmware with XperiFirm. But you might also decide to intentionally download a different one, e. g. if you want to de-brand your current operator-branded firmware! An example would be to go from “Vodafone DE” to “Customized DE”, which is a vendor-neutral firmware.
Enter Flash Mode
To enter “Bootloader” or “Flash Mode” to be used with tools like Flashtool or Emma, use the following procedure:
- Switch the phone off.
- Hold “Volume down” and connect your phone to the USB port of your PC. The notification LED should light up first in red, then in green, and provided you have correctly installed the drivers for your phone, you will be able to use Flashtool or Emma to flash your device.
Flash Device with Flashtool
Recent versions of Flashtool now integrate XperiFirm, and the whole process described above is fully automatic. Just press the XperiFirm icon (the right-most one in the toolbar) to download or (if already installed) invoke XperiFirm, then select and download your vendor firmware, close XperiFirm, and then Flashtool will continue bundling and flashing your firmware.


